Screenshots are a very important part of daily lives and knowing some neat tricks to get them done quickly can come in handy. Whether it’s a regular workday or online classes, you can capture stills of almost everything on screen. These screenshots can then be saved in JPG or PNG and shared among your group using various platforms. We at 91Mobiles had taken it upon us to help you out with some tips for Windows 11 OS, which is just rolling out. In this article, we intend to help you out with how to take on your macOS computer. Apple’s OS for MacBook Air, Pro, and iMac allows you to take screenshots in four different methods. Each method has its own benefits and you can choose which to use depending upon your requirements. Here’s a quick look at the many ways you can take screenshots on macOS and their benefits.
How to take a screenshot on macOS
Here are four easy ways you can take a screenshot on your macOS depending upon what type of screenshot you are looking for:
How to capture a full-screen screenshot
Command + Shift + 3: Taking a full-screen is very simple; just click Command + Shift + 3. This grabs the entire screen for you. It’s is similar to the Print Screen key present on Windows PCs.
How to capture a portion of the screen
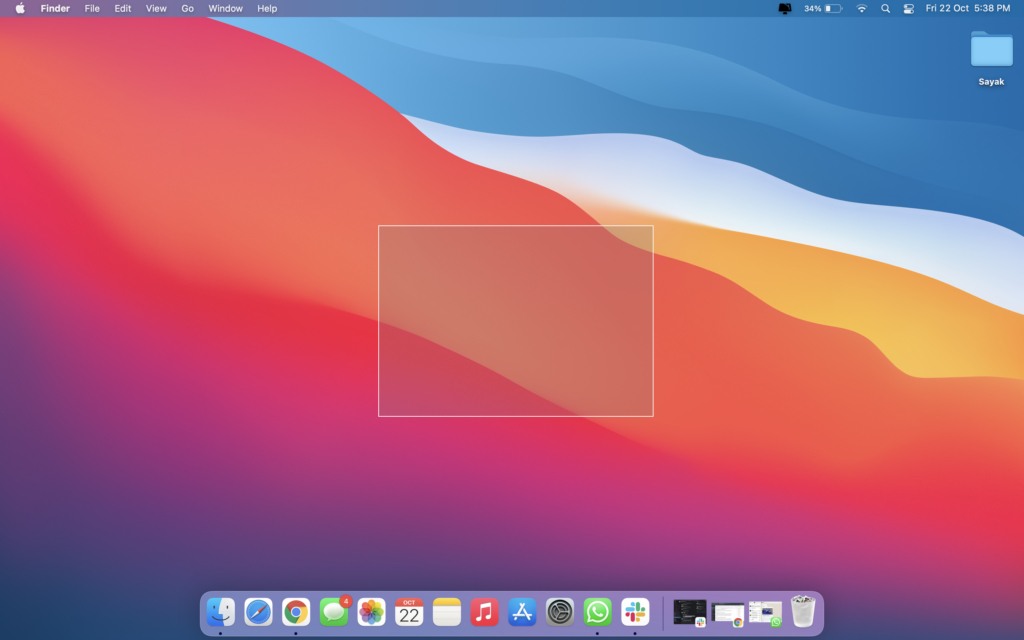
Command + Shift + 4: To do this you have to take a slightly more advanced method. The basic command for taking screenshots of specific portions of the screen is Command + Shift + 4. After you have pressed down on the keys specified above, a crosshair would appear which you could use to click and hover over the screen real estate you want to capture.
How to capture a window or a specific app
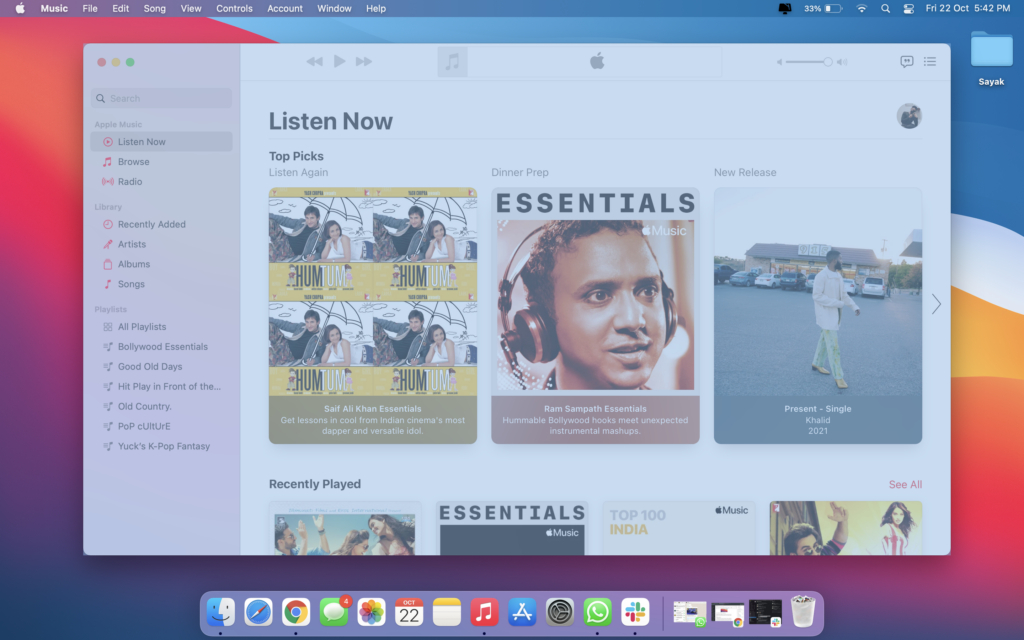
Command + Shift + 4 + Space: Taking a screengrab of a particular window or an app, you can resort to the button combination Command + Shift + 4 and then press Space. A camera icon will replace the crosshair and will allow you to grab screenshots of a specific window.
Command + Shift + 5
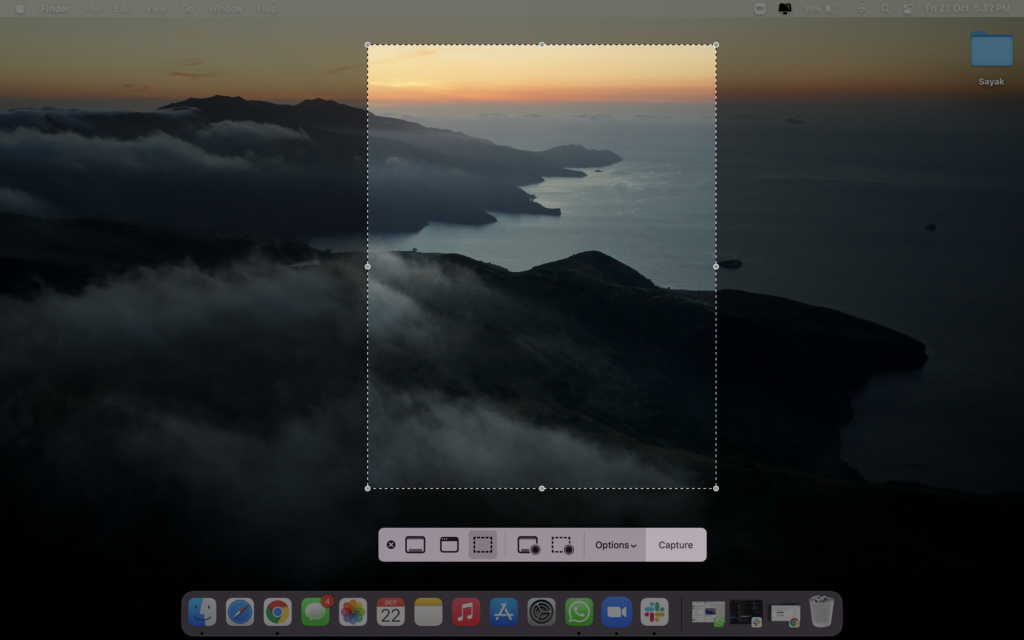
The Command + Shift + 5 is a popular method of taking screenshots on macOS laptop/ PC. The benefit of this method is that you get all functions in one place. After pressing down on the combination, a popup bar appears, which houses a host of different functions. You can take screenshots of the entire screen, a portion of the screen or just a window or an app. Moreover, you can use the panel to also record your entire screen or a selected portion of the display. You can exit it by pressing the Escape key.
Command + Shift + 6
If you are on a MacBook Pro from 2016 or later, the TouchBar on your keyboard can actually let you have one more way to grab a screenshot. A quick combination of Command + Shift + 6 will bring up screenshot shortcuts onto your TouchBar which lends you the ability to take screenshots.
Where are the screenshots saved on macOS PC?
By default, the screenshots that you take on your macOS device will get stored on your desktop. You can, however, change the location where your screenshot gets stored. Hit the combination of Command + Shift + 5, the popup will host a button called Options. From Options, you can select Other Location… from Save to section and then select a folder section of your choice.


