
If you have a Windows Vista or later version, you can use the snipping tool to take a screenshot. The screenshot can be taken of an open window, the full screen, rectangular area or any free-form area. You can take a screenshot of the entire screen, a window, or just a portion of the screen using the snipping tool. However, to speed up the whole process, you can use the snipping tool shortcut on Windows and macOS so that the screenshot can be taken in the blink of an eye. Now, let’s find out how to use the snipping tool shortcut on Windows and macOS.


Table of Contents
What is a snipping tool?
Snipping tool is a screenshot utility in Windows laptop/ PC. The tool allows you to take snaps of your system screens. The snaps can then be saved as an image file or an MHTML file or e-mailed. The Snipping tool also offers basic image editing of the snapshot, with different coloured pens, an eraser, and a highlighter. The same can be carried in macOS machines.
How to use snipping tool shortcut on Windows laptop/PC
Want to know how to use the snipping tool shortcuts on Windows laptop/PC? Follow these steps and you will be able to snip in no time.
Windows logo key+Shift+S
- Press Windows logo key (generally, next to the Alt key adjacent to the spacebar key) + Shift + S.
![]()
- Select the screenshot area during which the desktop darkens. Although rectangular mode is the default, you can change the shape by choosing any of the Mode options in the toolbar, namely – Rectangular Snip, Window Snip, Full-screen Snip and Free-form Snip.
- After the screenshot is taken, a notification will appear. If required, you can do more editing on the screenshot, which is automatically copied on the clipboard. To save the snip, select the Save Snip button and then Save As box, where you can select the desired location and type the file name, and thereafter, click Save.

Whether you are doing this on Windows 11, 10, 8, or 7 machines, the steps to capture screenshots using the snipping tool shortcut would remain the same.
How to use snipping tool shortcut on Mac laptop/PC
If you don’t have a Windows laptop/PC, but a Mac computer, you can still use the snipping tool shortcut for screenshots. Read on to know how to use the snipping tool shortcut on a Mac laptop/PC to capture the entire screen, a window, or just a part of the entire screen:
Snipping tool shortcut to take screenshot
- Press Command + Shift + 3 or Command + Shift + 5. The former will allow you to take the screenshot of the entire screen, while the Command+Shift+5 lets you capture a portion of the screen
- You can edit the screenshot by clicking on the thumbnail that appears on the corner of the screen.
- The snip will save to the default location viz. desktop as ‘Screen Shot [date] at [time].png’. However, if you have macOS Mojave or a later version, you can use the Options menu in the Screenshot app to change the default location. Alternatively, you can drag the thumbnail to the desired folder or document.
Snipping tool shortcut to capture a screen
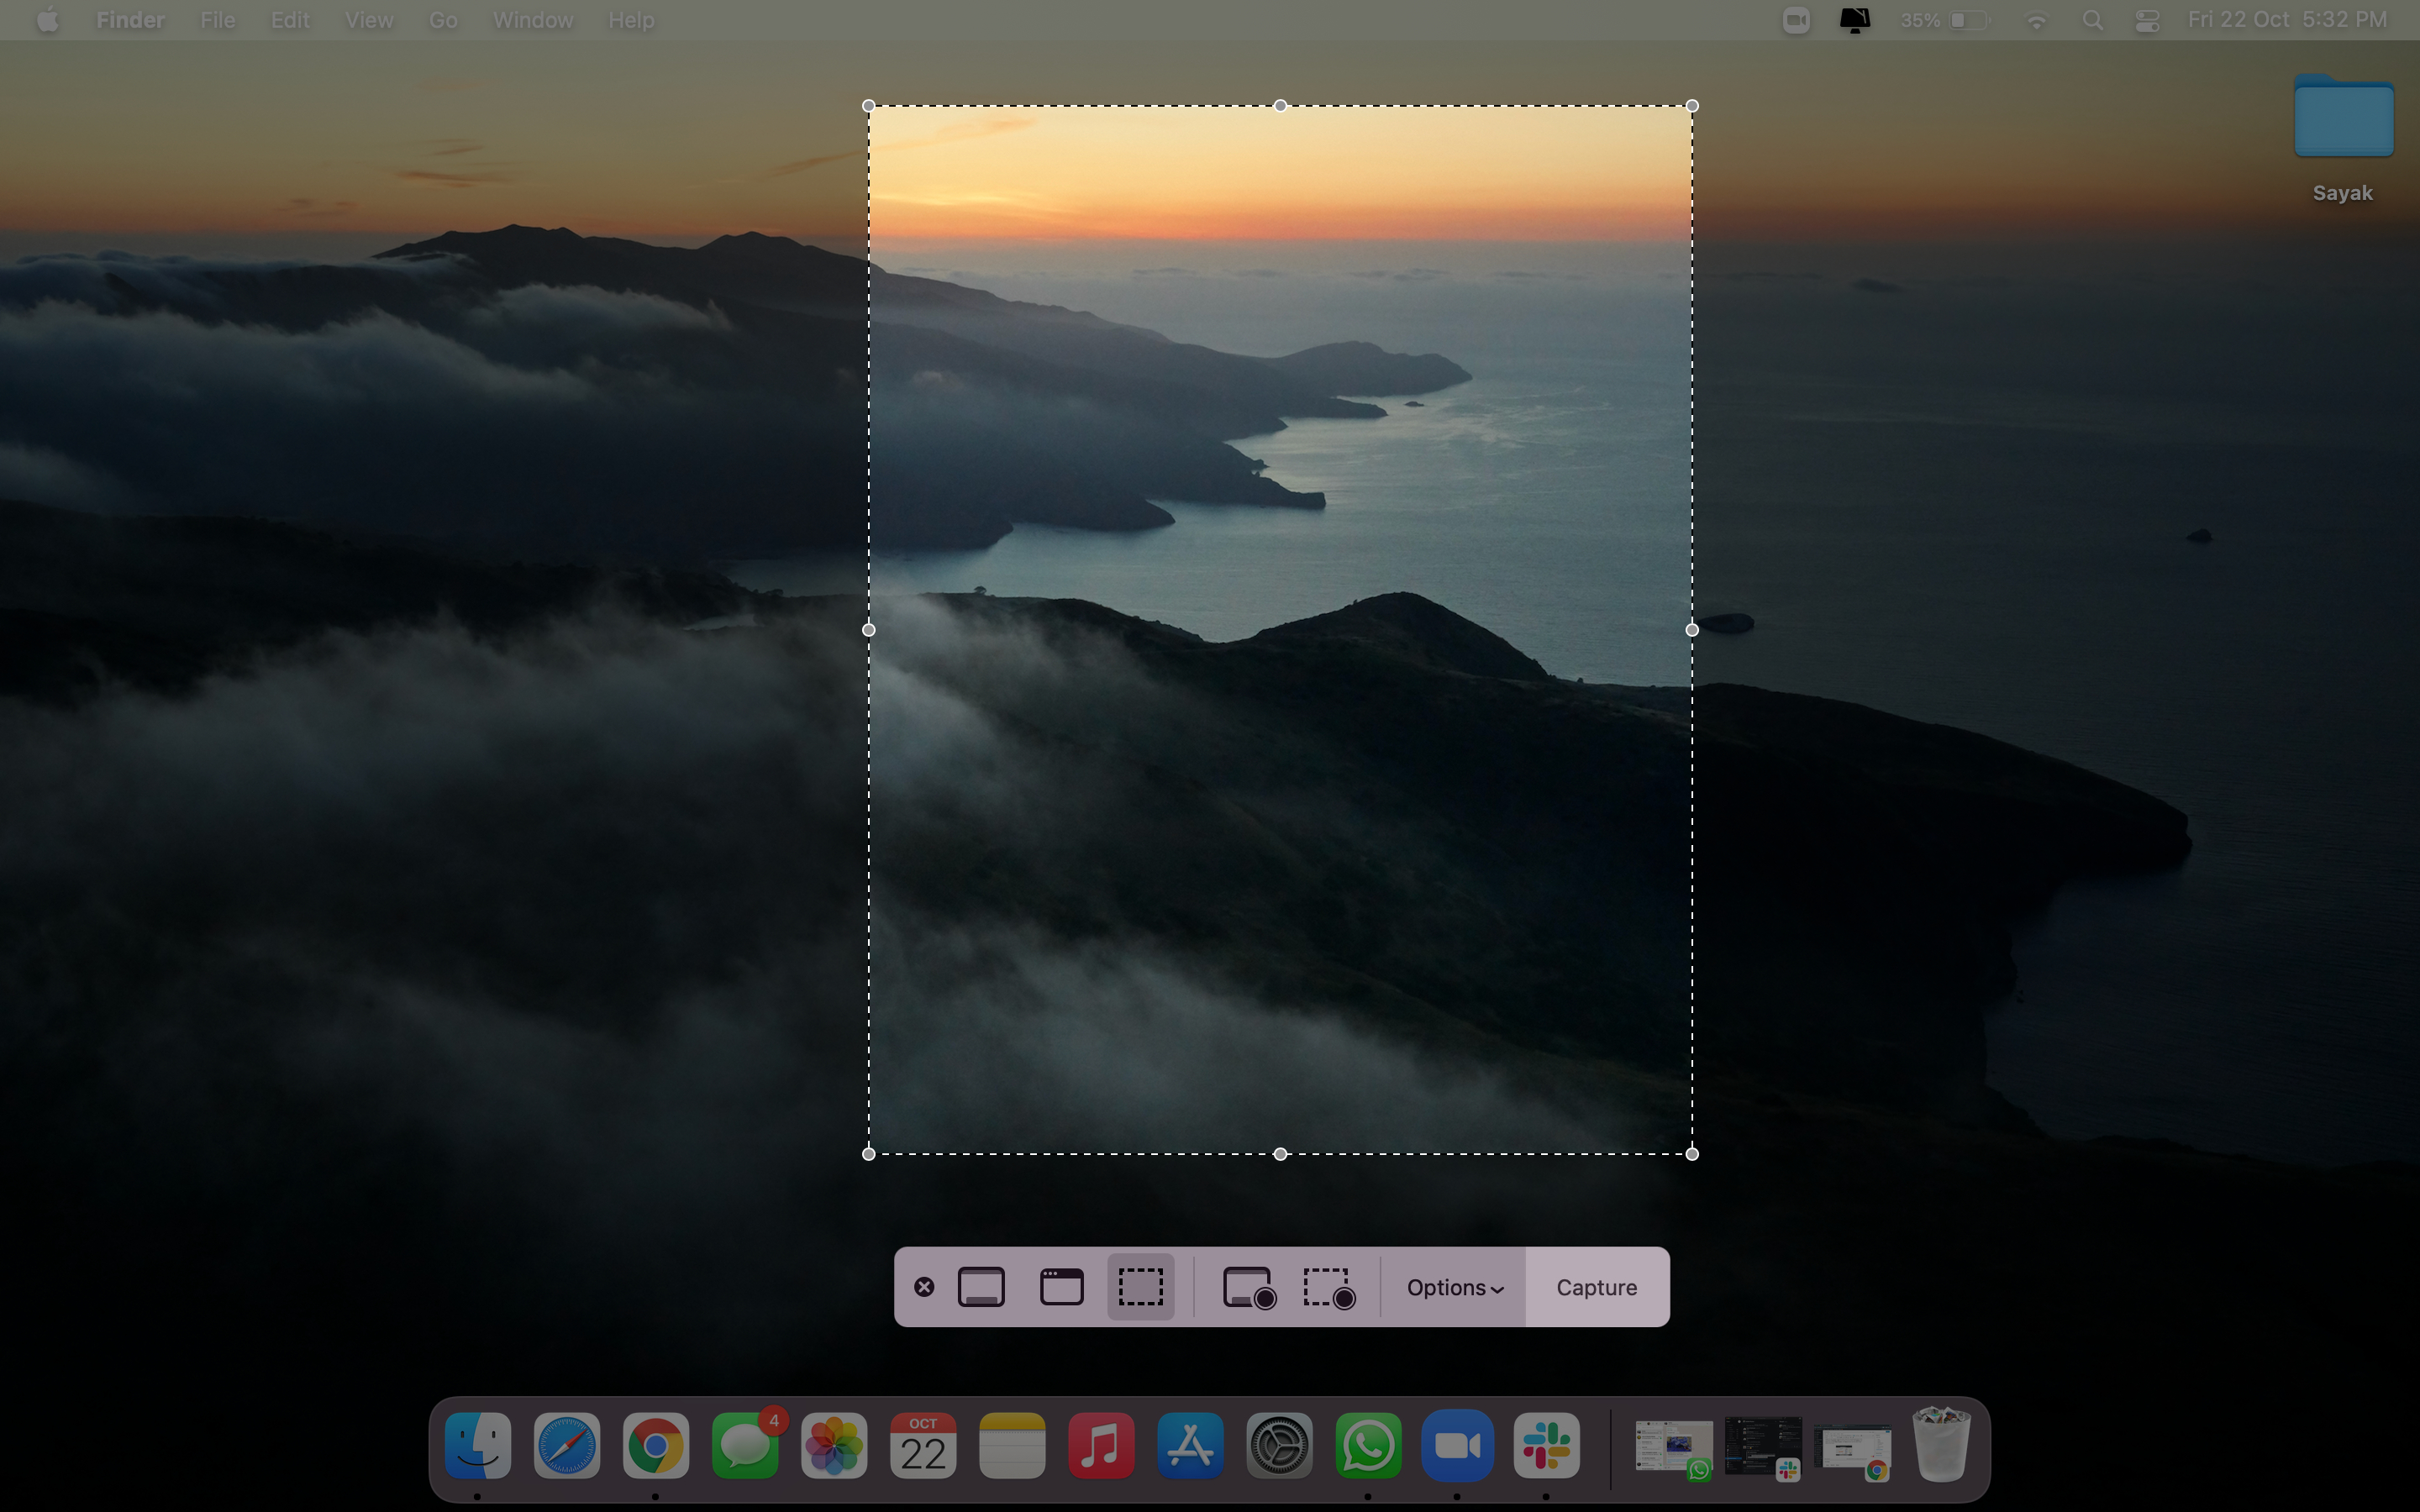
- Press Command + Shift + 4.
- To capture a portion of the screen, drag the crosshair. In order to move the selection, you need to press and hold the spacebar key while dragging. Release the mouse or trackpad to take the screenshot.
- You can edit the screenshot by clicking on the thumbnail that appears on the corner of the screen.
- The snip will save to the default location viz. desktop as ‘Screen Shot [date] at [time].png’. However, if you have macOS Mojave or a later version, you can use the Options menu in the Screenshot app to change the default location. Alternatively, you can drag the thumbnail to the desired folder or document.
Snipping tool shortcut to capture a window or a menu
- Press Command + Shift + 4 + Spacebar, which changes the pointer to camera icon.
- Now click the window or menu that you want to capture. If you want to exclude the shadow of the window, press and hold the Option key while clicking.
- You can edit the screenshot by clicking on the thumbnail that appears on the corner of the screen.
- The snip will save to the default location viz. desktop as ‘Screen Shot [date] at [time].png’. However, if you have macOS Mojave or a later version, you can use the Options menu in the Screenshot app to change the default location. Alternatively, you can drag the thumbnail to the desired folder or document.


