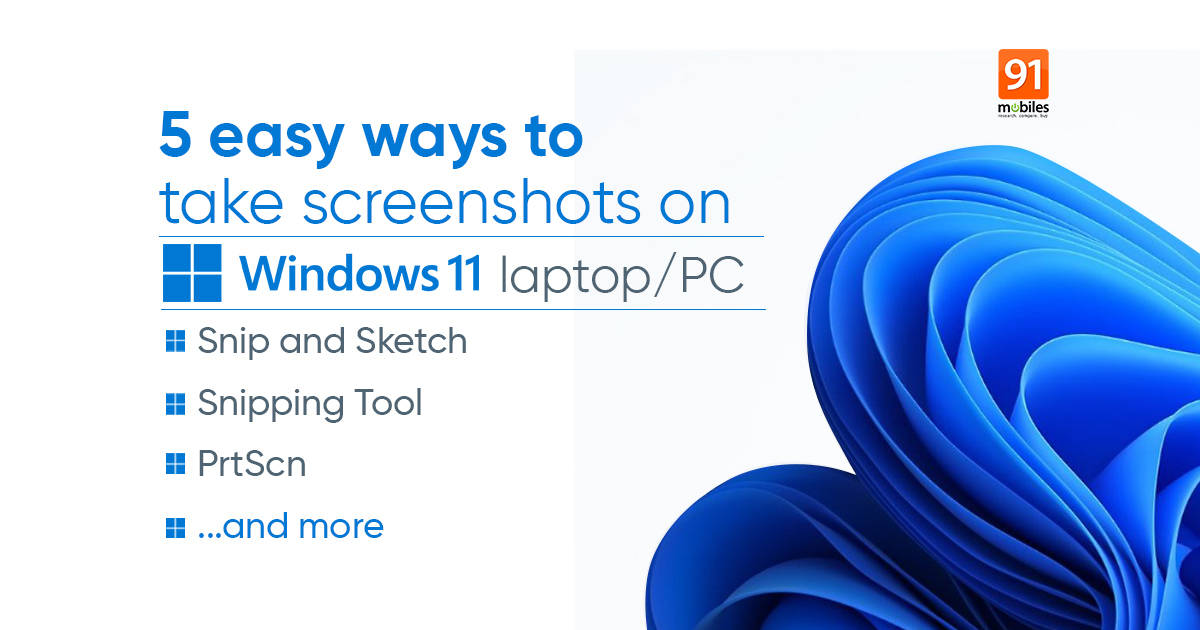
If you own a Windows 11 machine and are wondering how to take screenshots, you are at the right place. We have listed several ways to take screenshots on Windows 11 below. These methods include capturing screenshots using various keyboard key combinations using which you can save the screenshots to your device, copy them to the clipboard and even instantly edit them.
Table of Contents
Using the Snip and Sketch tool
Step 1: To begin, press Windows + Shift + S. After you have pressed, you will see the screen dim down and a floating toolbox appears towards the top

Step 2: Now select the desired form of screenshot you wish to capture, be squarish or free-form
Step 3: Once you leave the cursor, the specific portion will be saved to the clipboard
Step 4: The screenshot can be viewed from the notification panel and even be saved as an image to your Windows 11 PC/ laptop
Using the Snipping Tool
The Snipping Tool is practically the in-built screenshot tool that Microsoft ships with its Windows OS. This tool adds some custom functionality over and above the keyboard shortcuts for full-screen screenshots and active window screen grabs.
Step 1: Head over to the screen whose still you want to capture
Step 2: Now, click on the Start Menu and look for the Snipping Tool app. Alternatively, you can search the app using Windows Search.
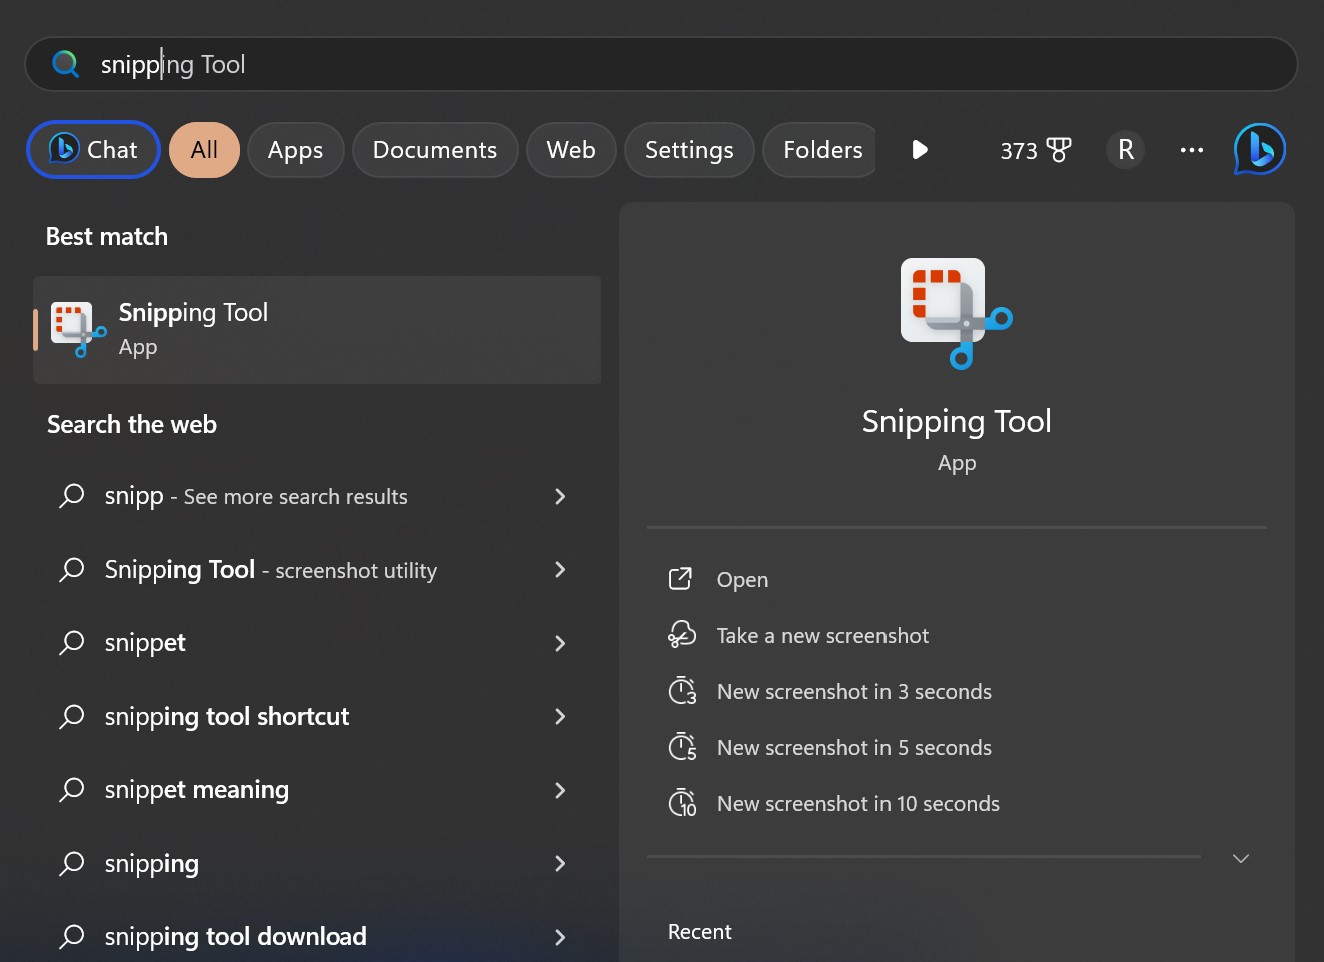
Step 3: Open the Snipping Tool app

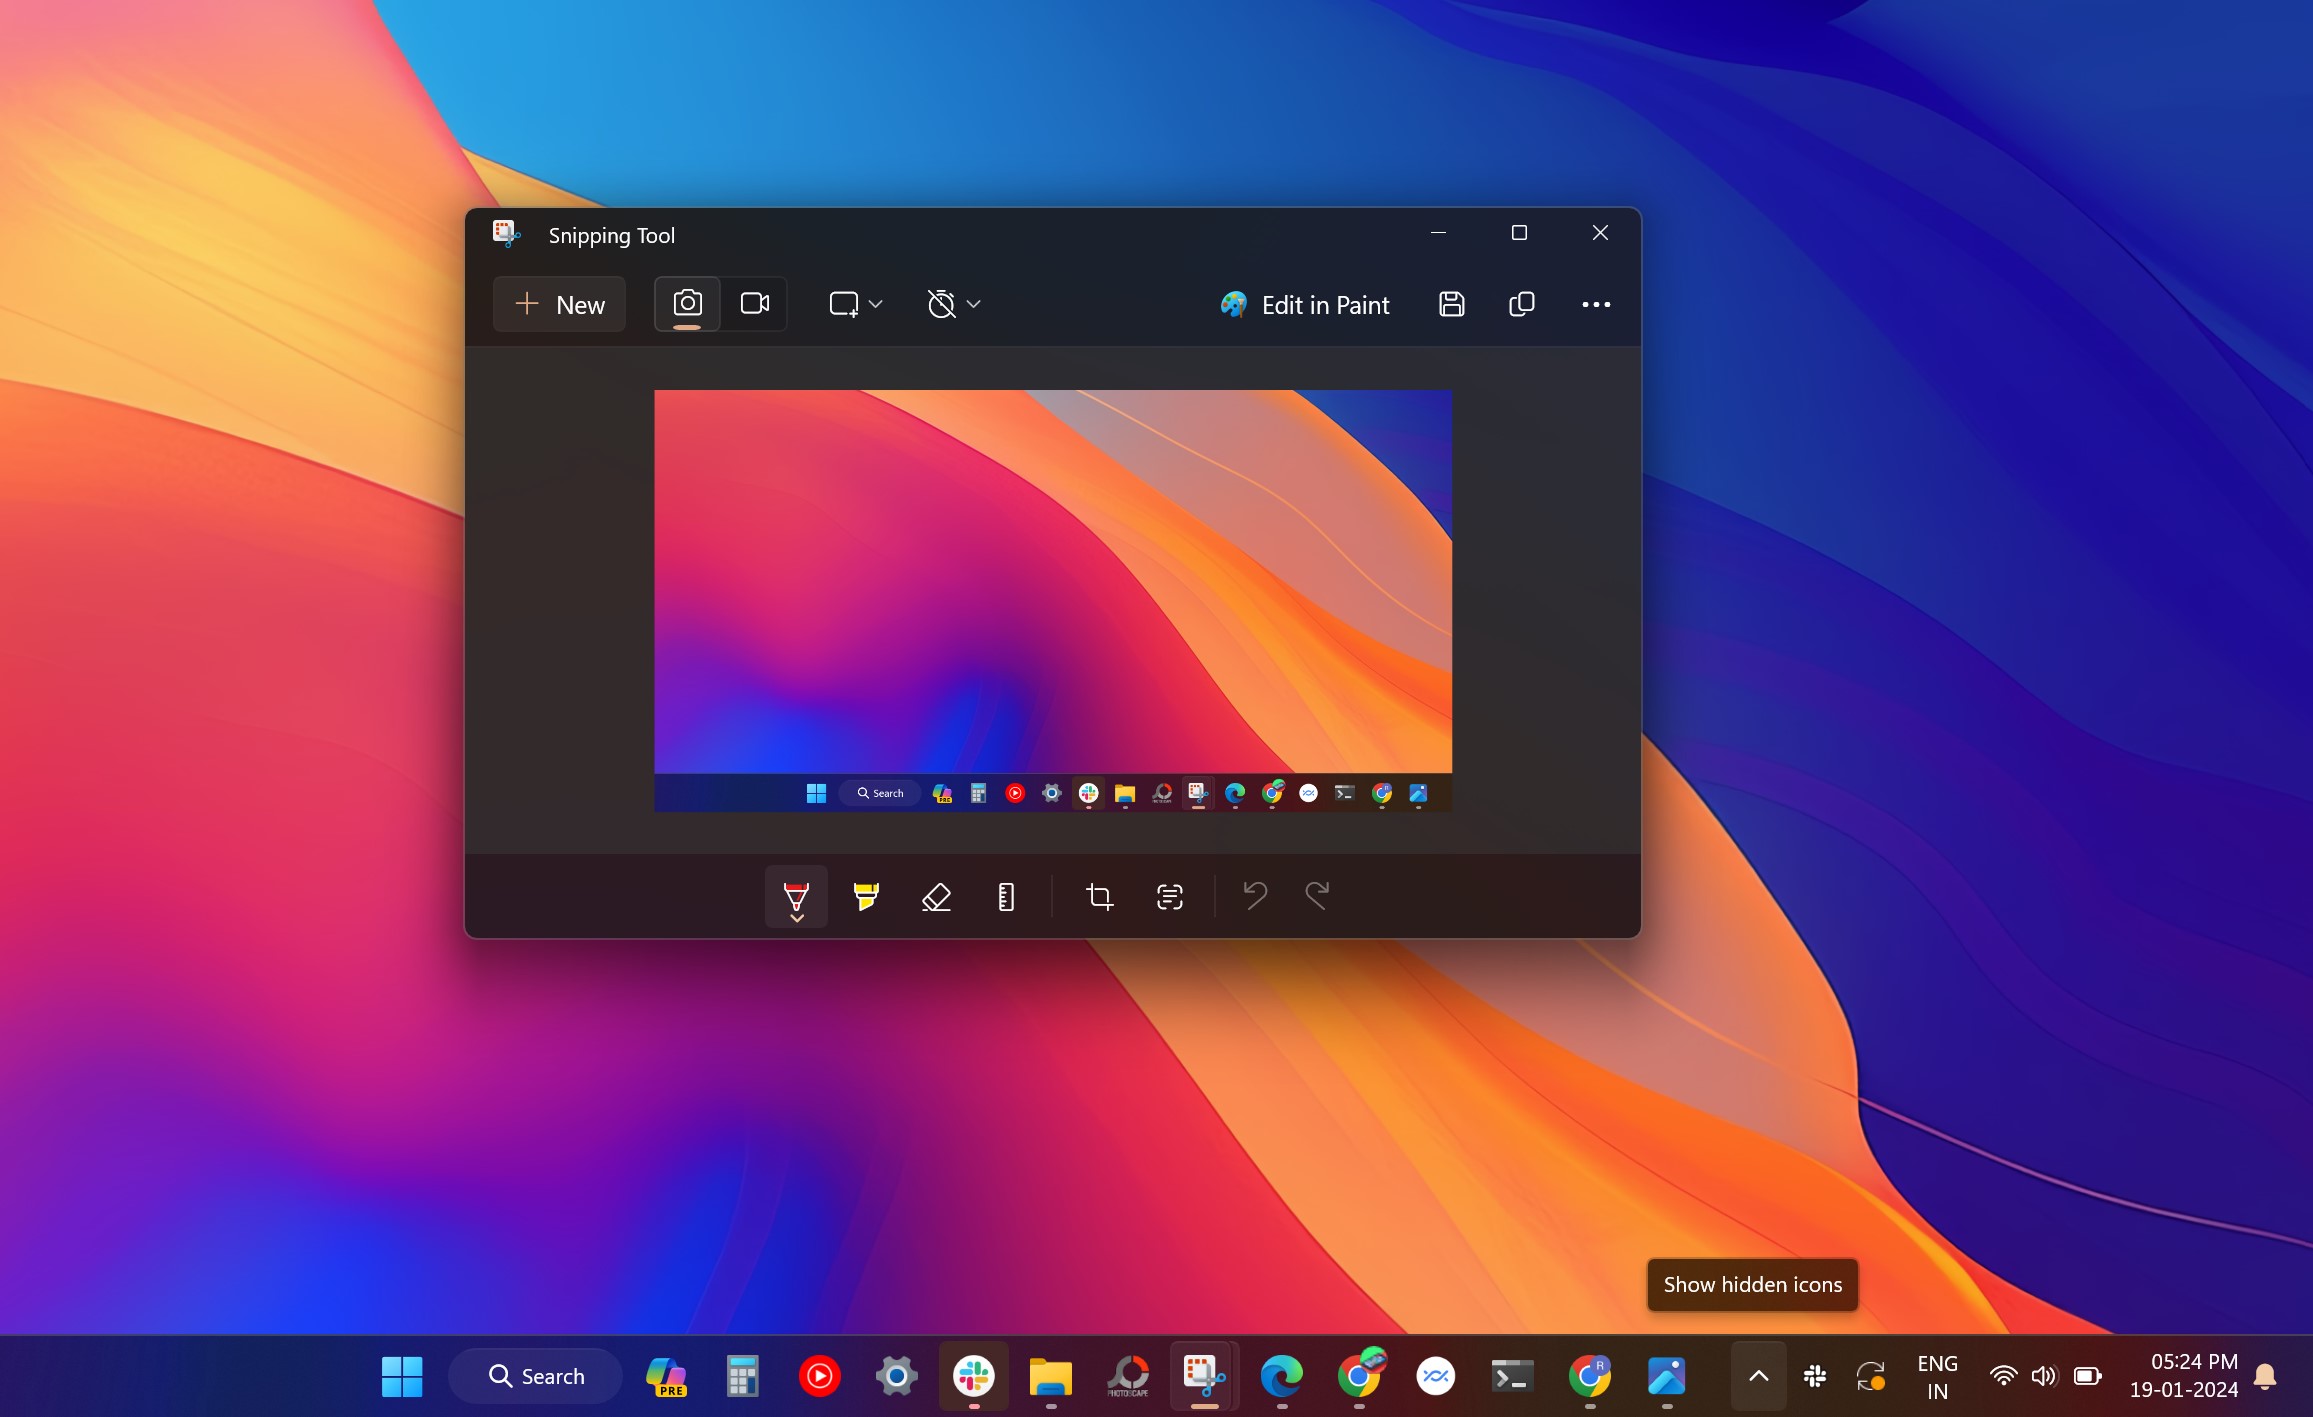
Step 4: A small window, with the following options: New, Mode, and Delay, will appear on your screen.
Step 5: Select on New to take the screenshot in free form, otherwise, go to Mode and choose the shape and size of the screenshot
Step 6: Once done, you will be offered a pointer which you can then use by clicking down on the left mouse button or trackpad and move across the screen you want to capture.
Step 7: The screenshot you just ‘snipped’ will pop on the Snipping Tools window. You can further adjust it via the available tools on the window and once down you can save the image as you desire.
Using the Print Screen button on the keyboard
Arguably the easiest and most logical method of taking a screenshot on most Windows PCs is by hitting the Print Screen button. Here’s how to use it.
Step 1: The Print Screen button is usually found on the top right-hand side of most keyboards and is labelled as ‘PrtScr or PrtScn’

Step 2: Press the Print Screen button on any window and several tools will appear on the top while the screen will go dim indicating you can now proceed to capture the screenshot
Step 3: Now drag and select the desired area on the screen you wish to capture and leave the cursor
Step 4: A window will appear through which you can save the screenshot or make edits to the image.
Using the Windows + Print Screen shortcut
Another simple and easy way to take a screenshot on Windows 11 is by using the combination of the Windows button and the Print Screen shortcut. This will instantly capture the current screen.
Step 1: Press the Windows and Print Screen buttons simultaneously.

Step 2: Doing this will momentarily dim your screen and turn it back up. Once your Windows 11 PC does this, you will know that the screenshot has been successfully captured
Step 3: This screenshot will be auto-saved as an image directly into the Screenshots folder inside the main folder Pictures.
Using the Alt + Print Screen shortcut
Using the Alt and Print Screen buttons simultaneously captures the screenshot of an active window running on your desktop. Here’s how to go about it.
Step 1: Press the Alt button and the Print Screen button at the same time, this will trigger a screenshot which will get copy-pasted onto the clipboard.

Step 2: Now paste the copied image onto an image processing software such as MS Paint or Paint 3D
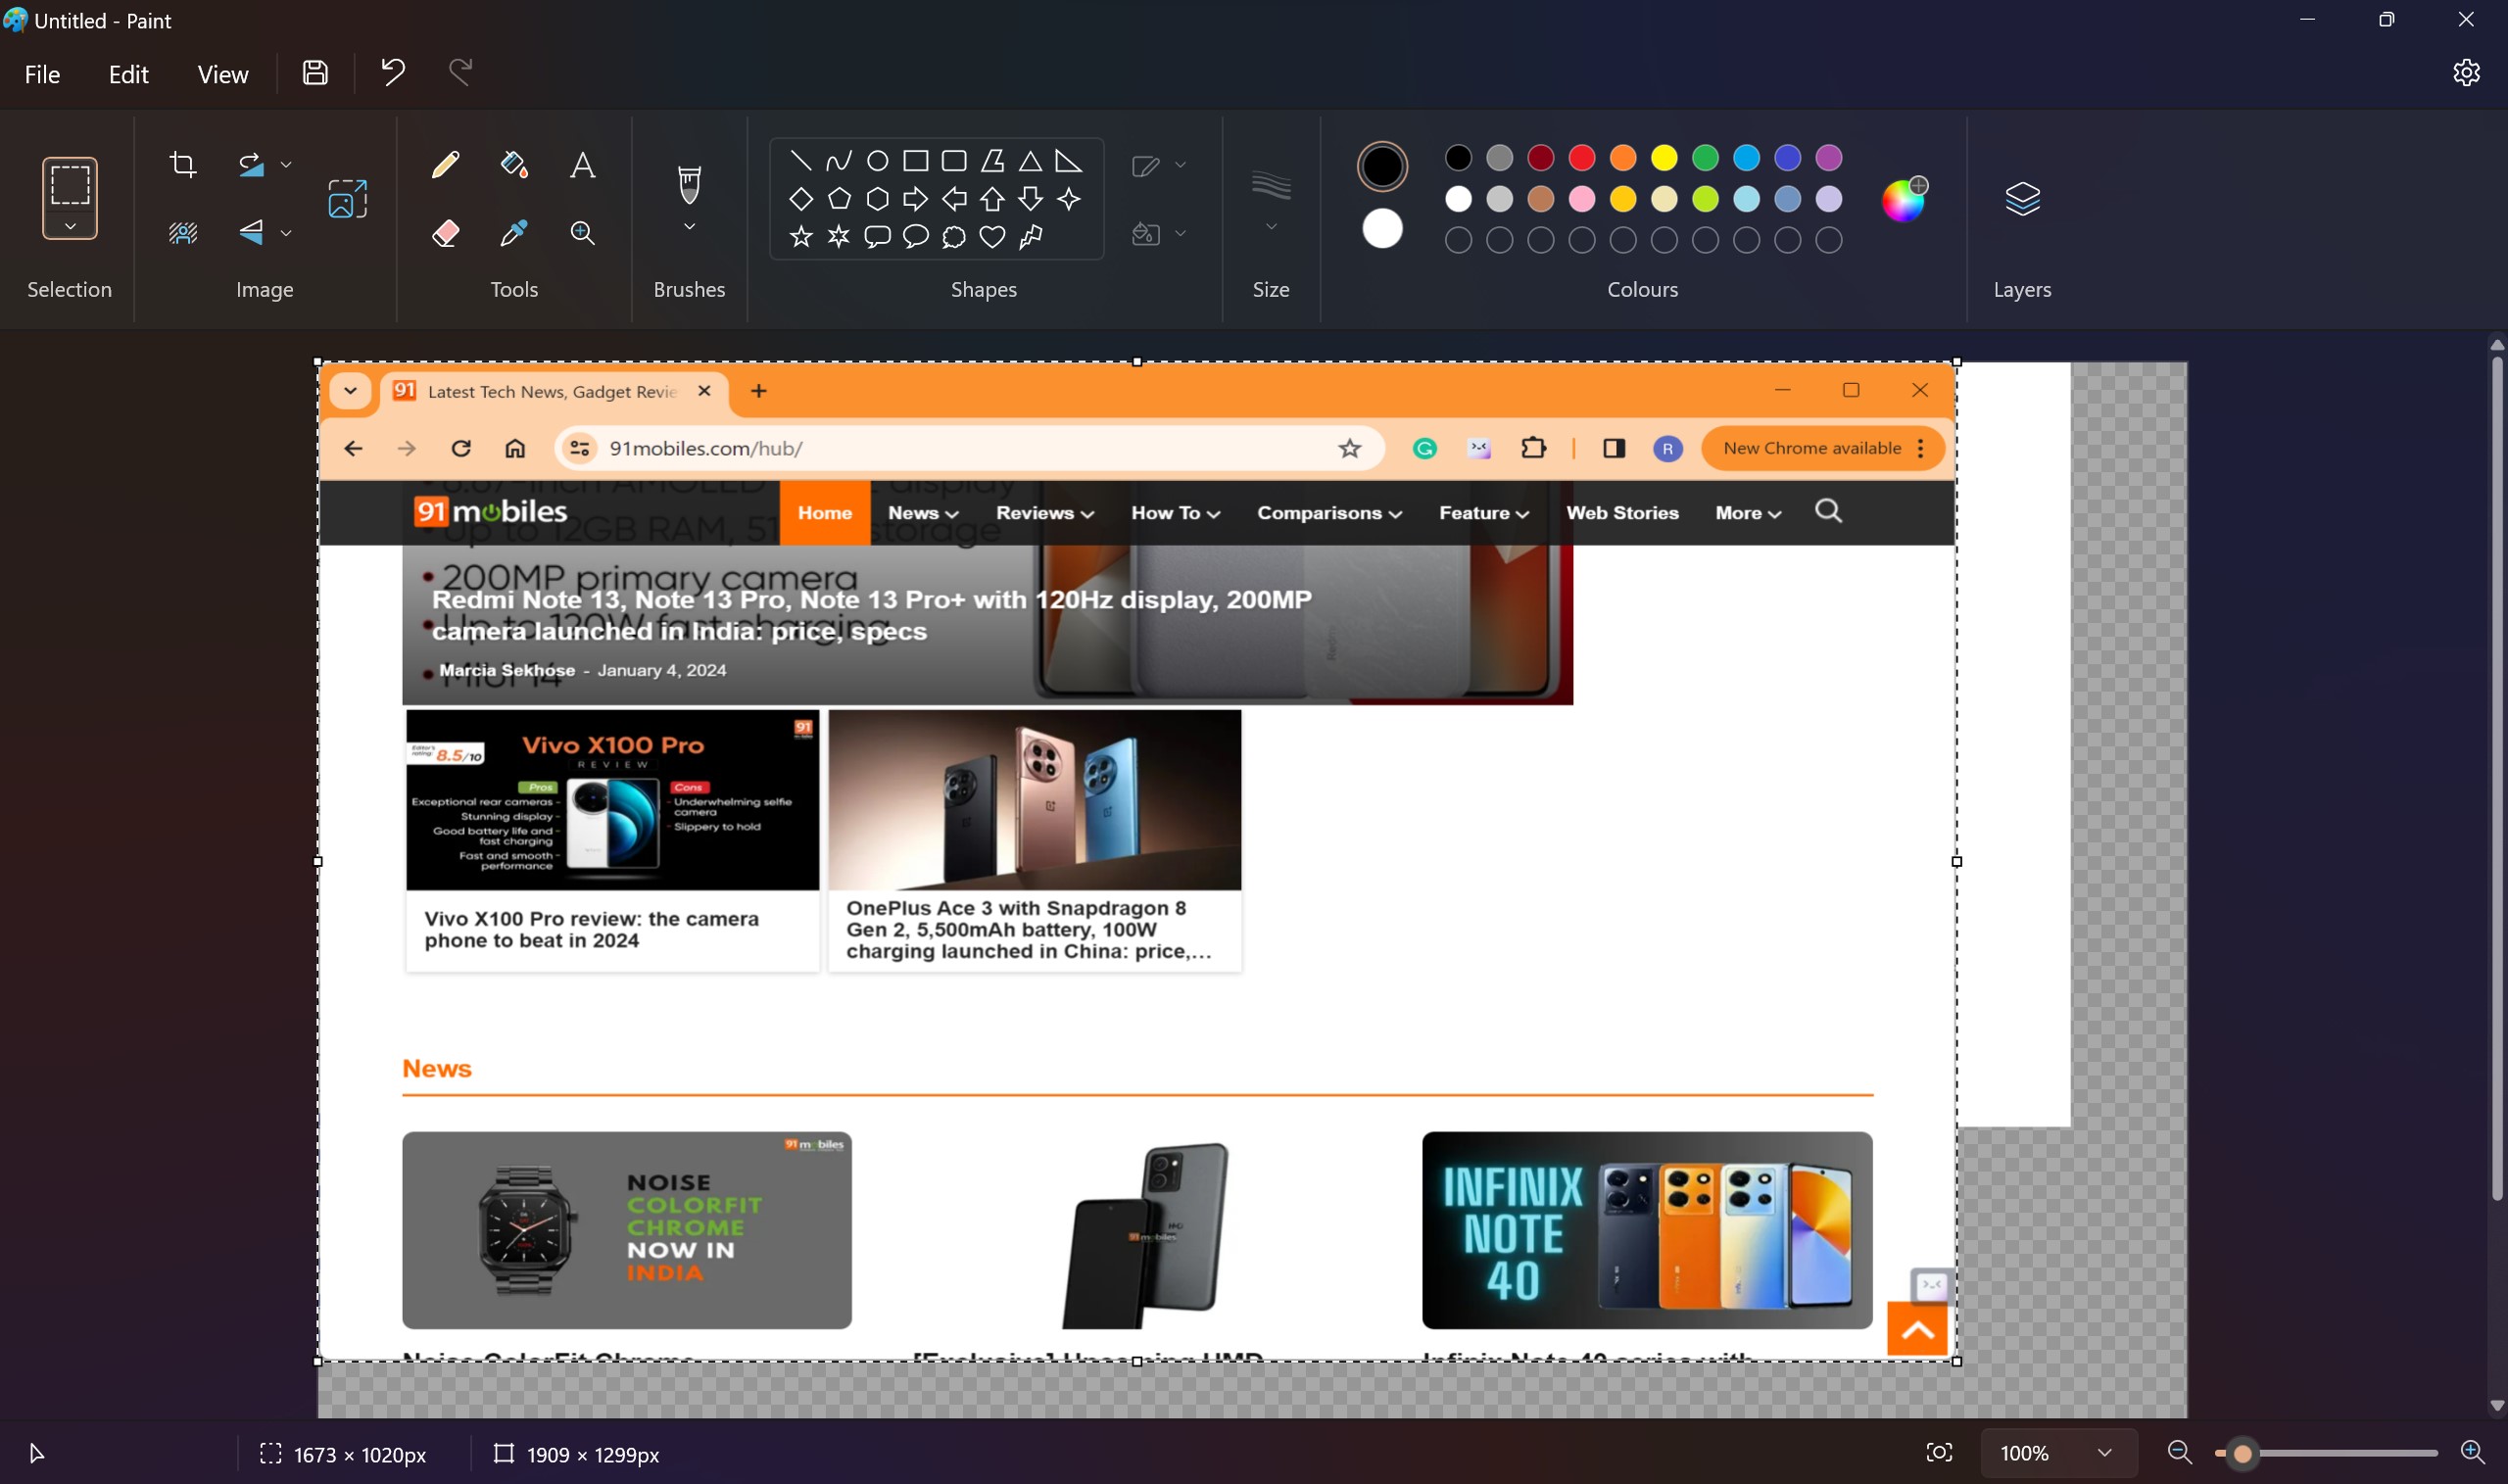
Step 3: After that, you can go on to save the image in the desired fashion.
Note: It is good to note that some Windows devices and peripherals operate differently even if it is in the slightest of manners. For example, the placements of the above-mentioned buttons might vary ever so slightly depending upon the design and make of the peripherals. Moreover, some keyboards only allow usage of the Print Screen button when the Function or the ‘Fn’ button is pressed down.
Other methods to take screenshots in Windows 11
Here are some more methods that can come in handy to take screenshots on a Windows 11 desktop or laptop.
- Game Bar: Game Bar is a brilliant application for those looking to capture moments and sequences while gaming on their Windows PC. It can be triggered by a simple
- Windows + G key combination. It’s best suited for screenshots and screen recording while gaming.
- PicPick: PicPick happens to solve Windows 11’s drawback of not allowing users to take scrolling screenshots using its native apps. While there are a variety of screenshot options, the PicPick app allows you to take scrolling screenshots on your Windows PC.


FAQs
How to take a screenshot if my keyboard doesn’t have the PrtScn button?
In case your keyboard doesn’t have the PrtScn (Print Screen) key, you can press the Fn + Windows key + Space Bar to capture a screenshot.
Where do the captured screenshots go in Windows 11?
All your screenshots are by default saved to the Screenshots folder under Pictures. The Pictures folder is generally located in the main drive of a Windows 11 device.


 vs OnePlus Buds 3: what do the TWS earbuds offer under Rs 6,000?")