Google Photos’ Locked Folder feature seems to have started rolling out to non-Pixel devices. The feature was exclusive to Google Pixel smartphones up until now. According to Android Police, the feature is available on some Android smartphones of OnePlus and Samsung within the Google Photos app. The Google Photos Locked Folder feature, to recall, was announced back in May with an aim to keep sensitive photos out of your main photo roll. Here’s what the feature is and how you can use the Google Photos Locked Folder feature to hide your images and videos:
Also read: How to download all Google Photos images and videos
Table of Contents
What is the Google Photos Locked Folder feature?
The Locked Folder feature of Google Photos allows you to choose specific photos or videos and put them in a password-protected folder, which even apps that have access to your regular photos and internal storage can’t read. It also prevents any sensitive images or videos from being uploaded from your Android device to the cloud as well. The photos and videos in the Google Photos Locked Folder will be stored locally on your device.
How to add images and videos to the Google Photos Locked Folder
Google hasn’t officially announced the rollout of the Locked Folder feature in Google Photos for all Android devices yet. Since it has been spotted, we can speculate that the update will be rolled out gradually. The feature is rumoured to arrive on Google Photos for iPhone early next year. Here’s how you can add images and videos to Google Photos Locked Folder feature arrives on your smartphone:
- First, download and install the Google Photos App from the Play Store, if it’s not available on your smartphone.
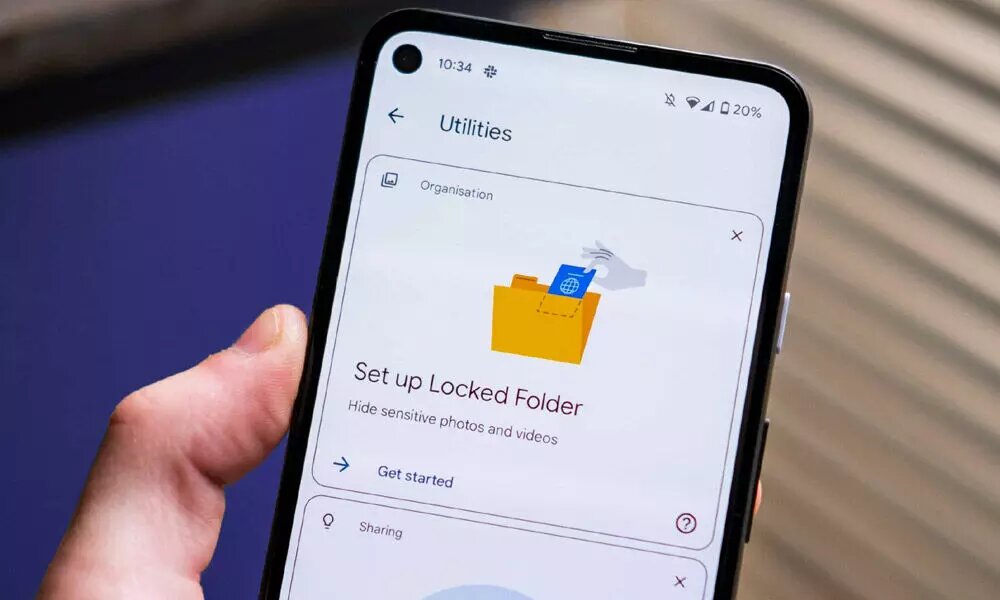
- Next head to the Library section in the bottom right-hand corner and then click on Utilities.
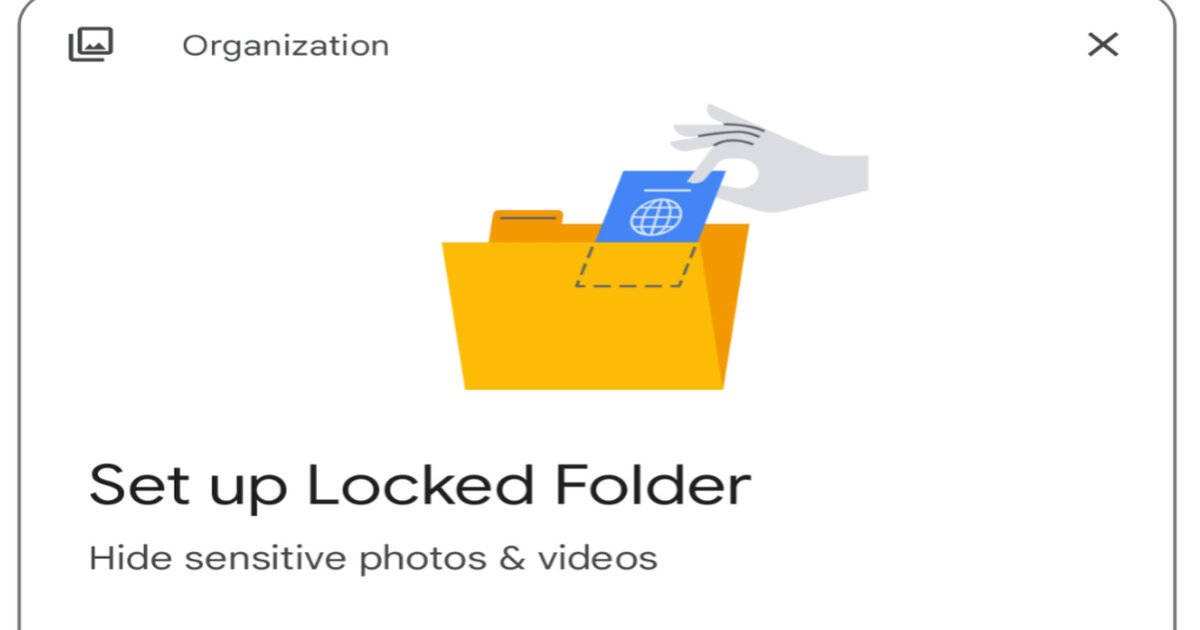
- If the Google Locked Folder feature is available on your smartphone, then tap on Set up Locked Folder.
- To the first time users, Google Photos will show a splash screen detailing what the feature is really all about. Tap on “Set up” to proceed
- Now, use your current device’s screen lock option
- Once the process is complete, you can move your existing images or videos to the locked folder by tapping on the Move items option.
- Then you will be able to see all the photos and videos on your device.
- After selecting the pictures and videos for moving to the locked photos, you will get a prompt with a message highlighting that the items moved will no longer be backed up or shared.
- You can then confirm the files to be moved by selecting the Move option.
This way all your selected images and videos will be locked in a secure way. No one will be able to access the media content or share it anywhere, without entering the smartphone’s password or biometric authentication. The media in the Locked Folder can’t be backed up or shared via Google Photos as well until it’s successfully moved out of the Locked Folder. This means if you remove the Google Photos app from your smartphone, all your files in the locked folder will go too.
How to access images and videos in the Google Photos Locked Folder
In order to access locked images and videos, fire up the Google Photos app –> select Library, then Utilities –> scroll down and tap “Locked Folder” –> authenticate yourself and choose Confirm. All your locked files on Google Photos will appear on your screen.


