
To upload content on YouTube, creators need to have their own channel. If you’re wondering how to create one, you’re in the right place. This guide will take you through the process on your preferred device—be it an Android mobile phone, iPhone, laptop, or PC. Additionally, we’ll share tips on customising your channel, uploading videos, and effectively managing your YouTube channel. Check it out:
Table of Contents
How to create a YouTube channel and verify it
On mobile: Android and iOS YouTube app
Make sure you are updated to the latest version of YouTube on your Android mobile phone and iPhone.
Step 1: Open the YouTube app and log in to your Google Account if you haven’t already.
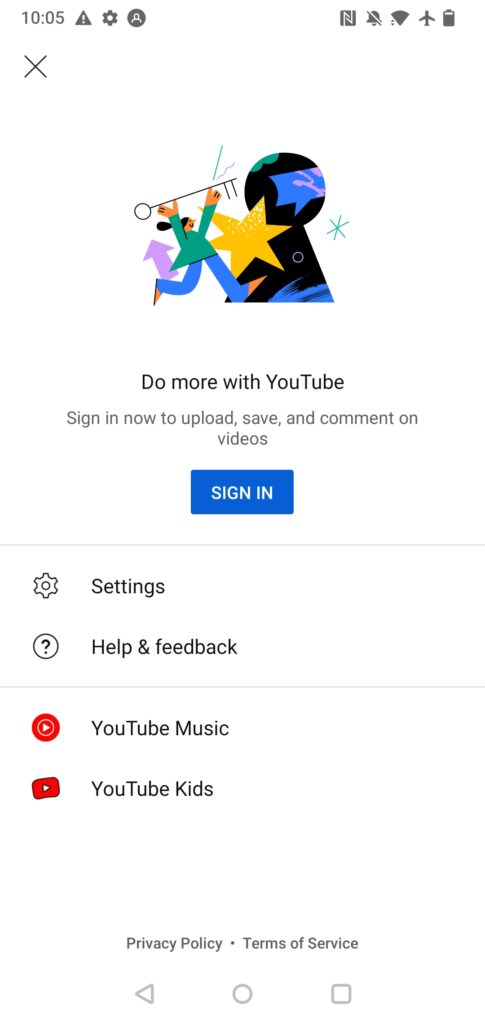
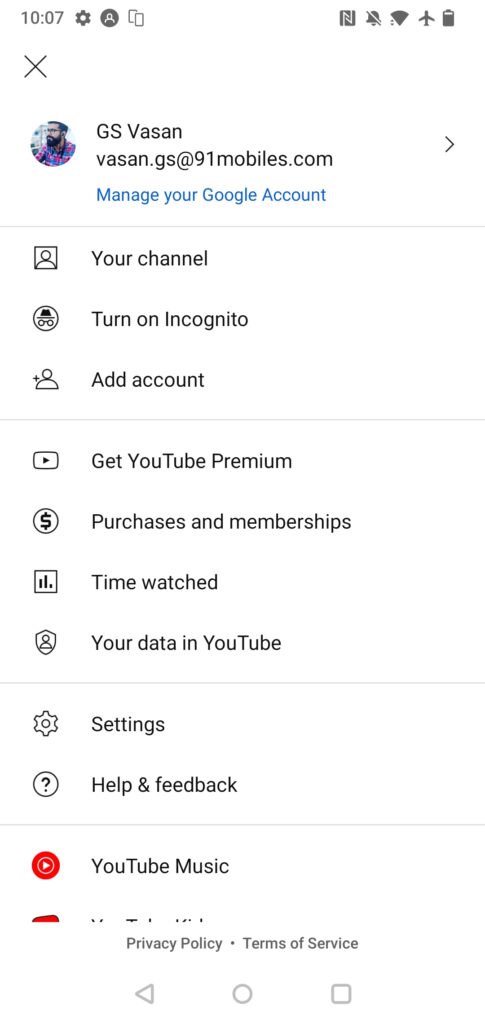
Step 2: Tap on the profile icon in the top right corner. Then click on the Your Channel option.
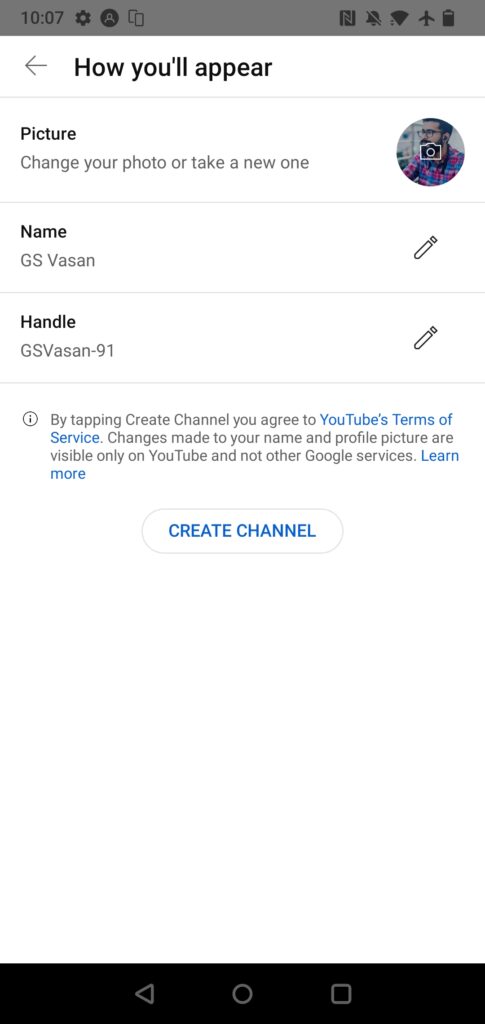
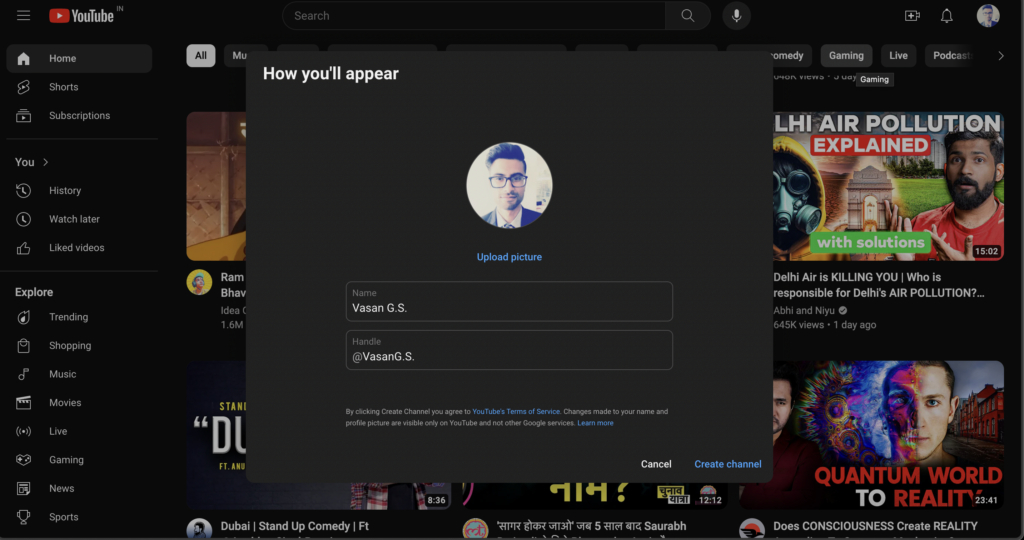
Step 3: Add a picture, and edit the name and handle as you like. Change them to whatever makes your channel more discoverable and aligned with your personal branding. When you’re satisfied, tap on the Create Channel option at the bottom.
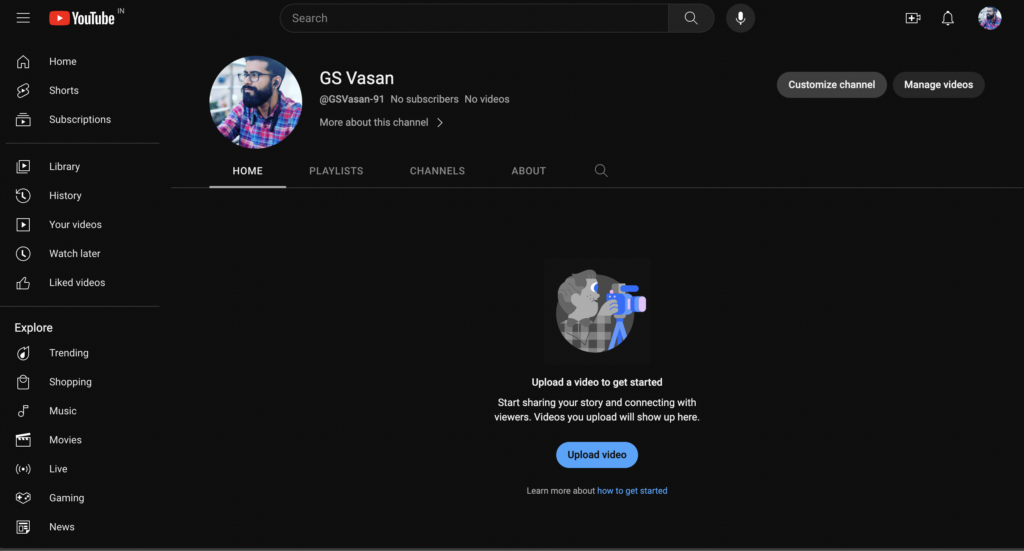
Step 4: If you aren’t automatically taken to your newly created YouTube Channel, again on the YouTube home page, tap the Profile Icon and then tap on the Your Channel option. You’ll be taken to your channel page. That’s it.
On the Web: PC and Mac
Step 1: Just go to www.youtube.com and sign in to your Google account if you haven’t already.
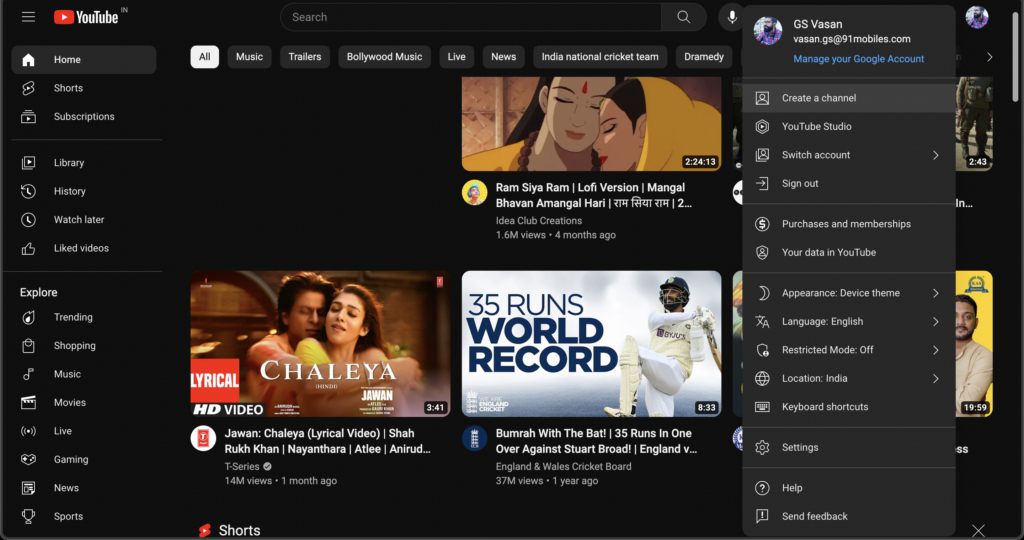
Step 2: Click the profile icon on the top right corner.
Step 3: Click on Create a channel option below your email ID.
Step 4: Edit the Name and Handle if you want to or go with the default option
Step 5: Click on the Create Channel option and you’ll be taken to the channel page.
Verify YouTube Channel
The verification process is available on the web interface only. But you can also open it through your mobile web browser. Here’s how you do that:
Step 1: Go to YouTube.com and click on the Profile Icon and then click on Your Channel option.
Step 2: Click on the Customise Channel option.
Step 3: This opens the Channel Customization page on a new tab. Click on Settings in the bottom left corner.
Step 4: In the pop-up window that opens, click on Channel and then Feature Eligibility.
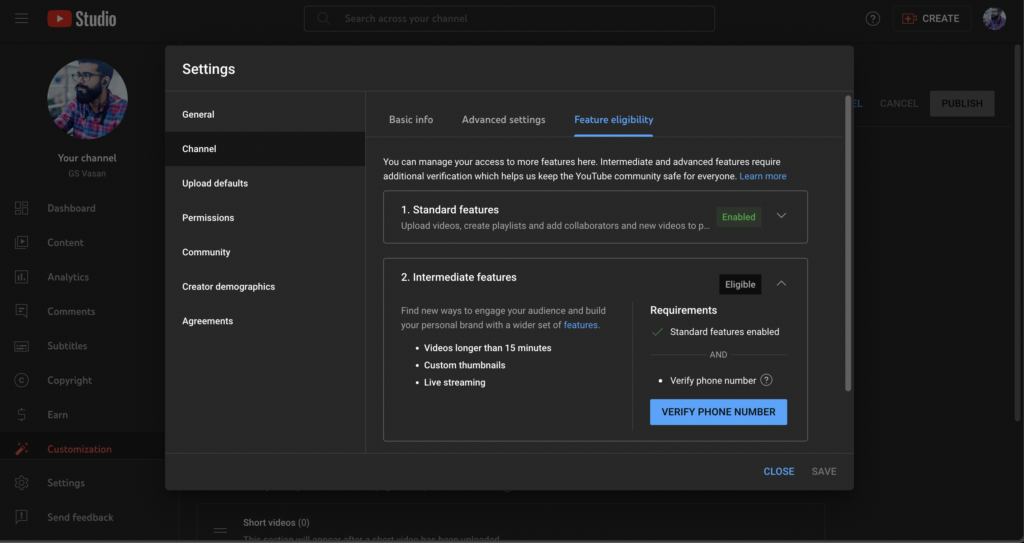
Step 5: Tap on Intermediate Features to see the Verify Mobile Number button. Click on it.
Step 6: Enter your phone number and submit the code that you receive on your mobile.
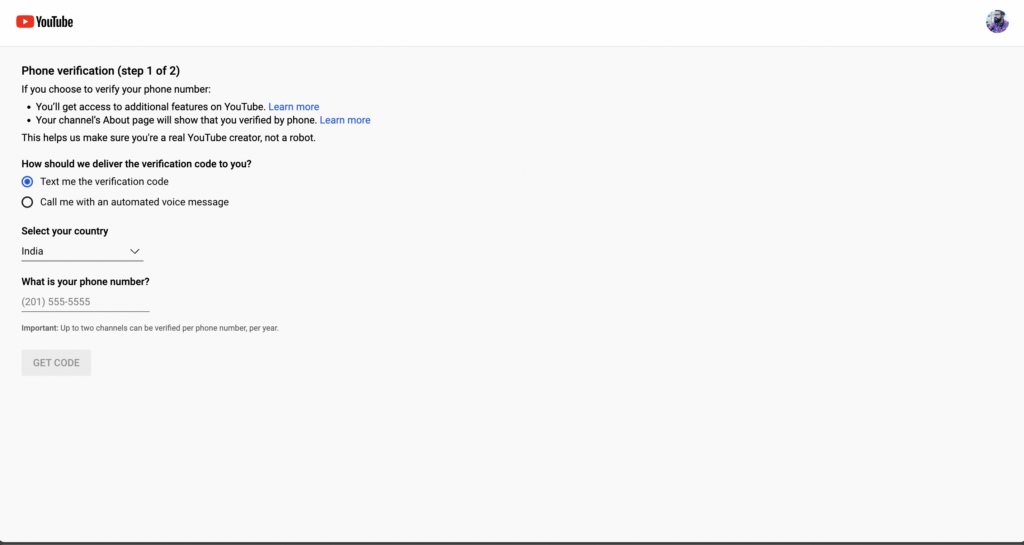
That’s it.
How to customise your YouTube channel
To customise your YouTube channel, click on the Profile Icon on the YouTube homepage and then tap on Your Channel option. On the next page, click on Customise Channel which will take you to the Channel Customisation option.
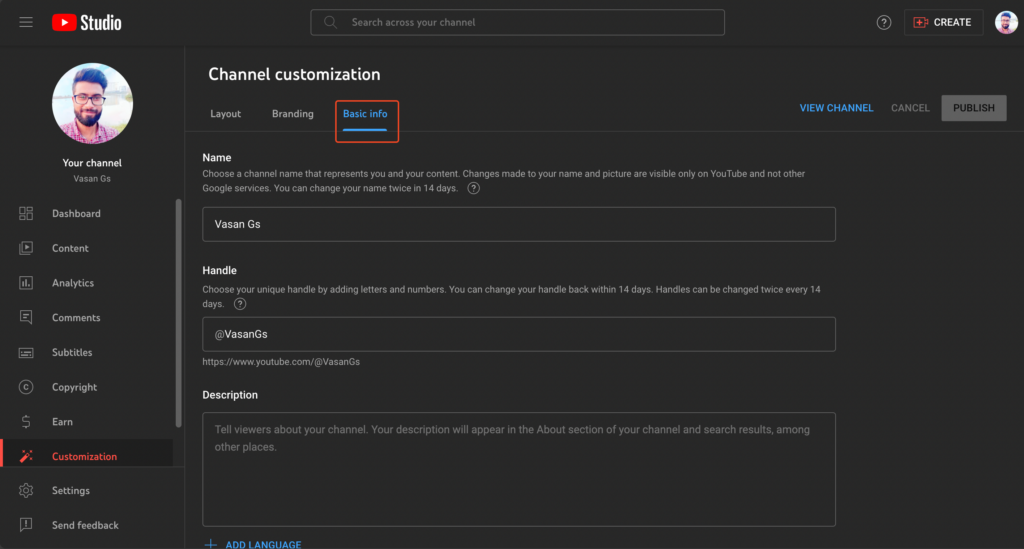
Add basic Info
Under this tab, you can add and edit things like
- Channel description: You can add what the channel is all about. It can be added in multiple languages if you are catering to a diverse audience.
- Channel name: If for some reason you don’t find the current channel name related to the content you are posting, you can change the channel name. Sometimes, only with time, you will realise what your channel is all about and the channel name should match that.
- Channel handle: Again the channel handle should be something that is easy to remember and that connects with your channel content and audience. So, accordingly, if you feel like changing it, you may do so here.
- External links: You may add links to your website, blog, e-commerce store, or social media profiles to drive traffic from your YouTube Channel to those links. People will have a broader knowledge of you and your work.
- Contact info: If you want the audience to contact you on a phone number, address or email ID, you can add them here.
Add branding elements
You can add:- Profile picture: It could be your photo, your company logo, or something that resonates with your brand. The image has to be in PNG or GIF format and of 98 x 98 pixels resolution and 4MB or less in size. You can upload and remove display images in this section.
- Banner images: When somebody comes to your YouTube Channel, their eyes are likely to fall on the banner image. It is like a cover image on Facebook. Ensure it is of at least 2048 x 1152 pixel resolution and 6MB or less in size.
- Video watermark: It will appear in the corner of all your uploaded videos automatically. This is meant to prevent copyright infringement.

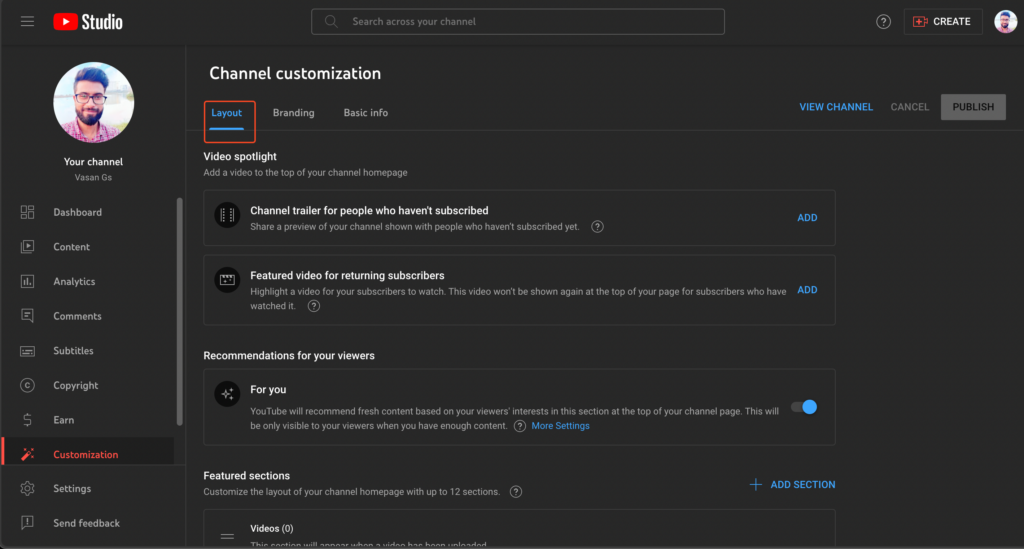
Configure the layout
Under this section, you can set the:
- Channel trailer: If you like to introduce yourself or give a preview of what the channel is all about, you can do that with a trailer.
- Featured video: This will be one video that you can show to the new subscribers as a sample of your work. It will hide once they watch it.
- Featured sections: You can add up to 12 sections and control how your YouTube Channel would look to the public.
How to create videos on your YouTube Channel
iOS or Android YouTube app
Step 1: Click on the + icon on the bottom menu bar. Choose between these 3 options: Click on Create a Short, Upload a video, and Go Live.
Step 2: Allow access to your device storage and other permissions.
Step 3: The videos you have saved on your phone storage will appear. Pick the video you want to upload.
Step 4: You get some basic editing options. Make the edits and tap on Next in the top right corner.
Step 5: Add a caption and configure options like Visibility, location, audience, etc.
Step 6: Based on the size of the content, you will get the option to Upload Video or Upload Short at the bottom.
On the web
On the YouTube Channel page, you will see the option to Upload Video. It would look like a video camera icon or will have the word Create. Tap that and you will get a new window wherein you can either drag and drop the video or Select the Files from the Windows File Explorer/ Finder app.
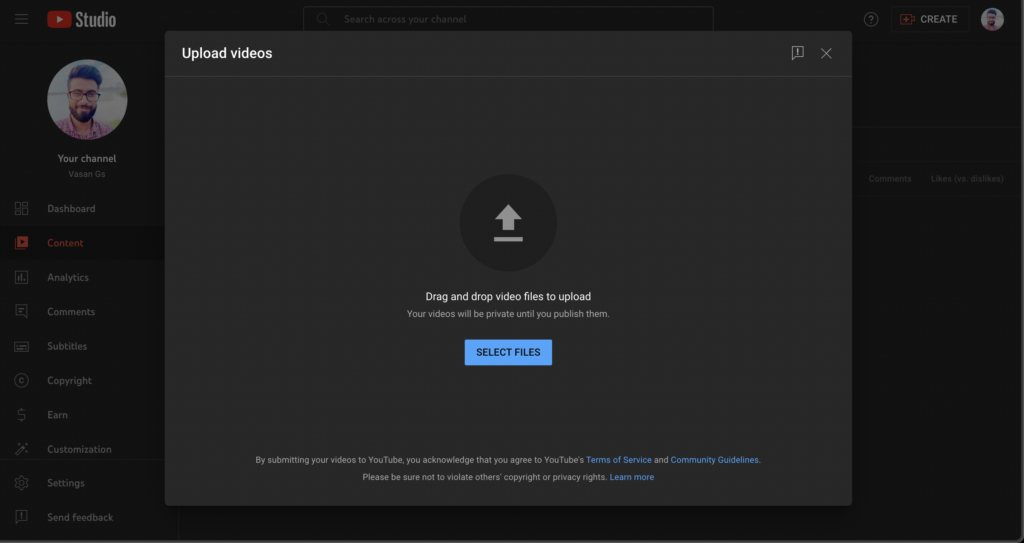
The rest of the steps are pretty much the same as above.
How to manage videos on my YouTube Channel
On the web
Step 1: Tap on the You option from the bottom menu bar in the YouTube app.
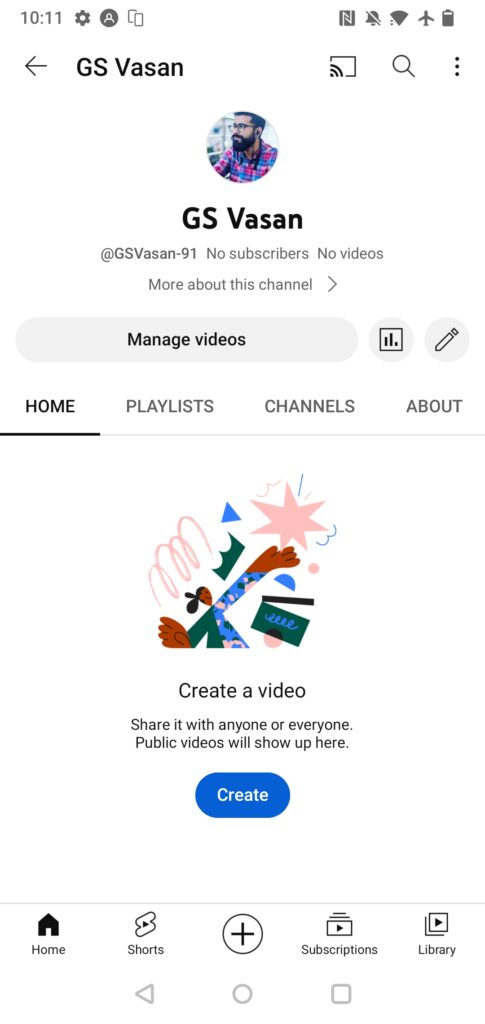
Step 2: Tap on View Channel
Step 3: This takes you to Your Channel page and here, tap on Manage Videos.
Step 4: From the right-hand shelf, you can access things like content, comments, subtitles, analytics, membership, supers, shopping, and audio library. Customize everything you want.
iOS or Android YouTube app
Step 1: Download and install the YouTube Studio app.
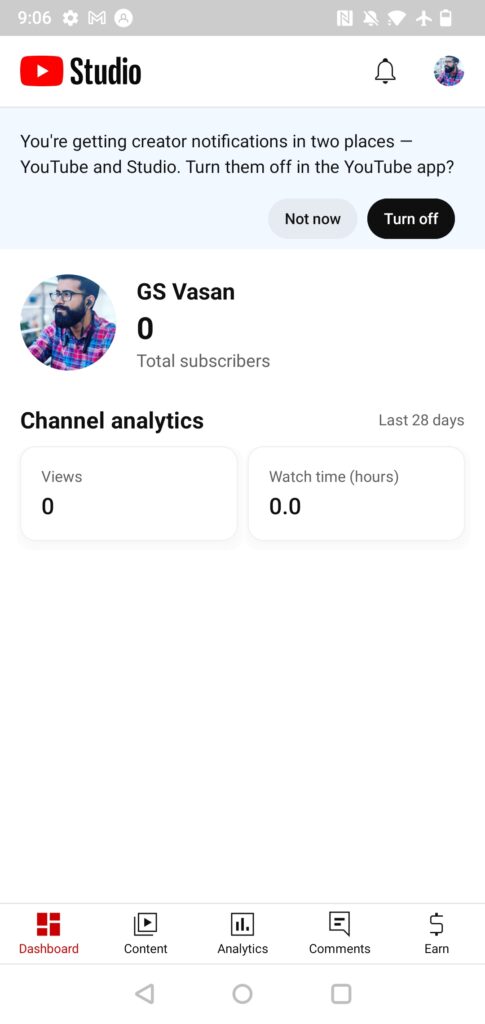
Step 2: Right from the bottom menu bar, you can access things like content, analytics, comments, and earning avenues.
Tips to improve your YouTube channel
- Ensure your channel name suits your brand or intent. You can change it by following the steps for Customizing the YouTube Channel. You will get the option within the Channel Customization > Basic Info.
- Follow a pattern of posting. This includes the time when you post, the type of content you post, the design of the thumbnail etc. Your audience should be subconsciously trained to know what they can expect from your channel.
- Use relevant information and keywords in your content name, description, etc.
- Compile similar content in playlists.
- Learn to edit well or get it done from a professional.
- Check analytics and see what’s working and what’s not. Make changes accordingly. Do constant research around the content you do.


FAQs
Why can’t I create a YouTube Channel?
If you are trying to create a YouTube Channel from the YouTube app on your mobile phone, ensure it is up to date. Else, you’ll get a message, “This action isn’t allowed”.
How do I check my YouTube Channel handle and joining date?
On your YouTube Channel page, tap on the More About This Channel option and that will show you the joining date.


 review: sunny side up")


